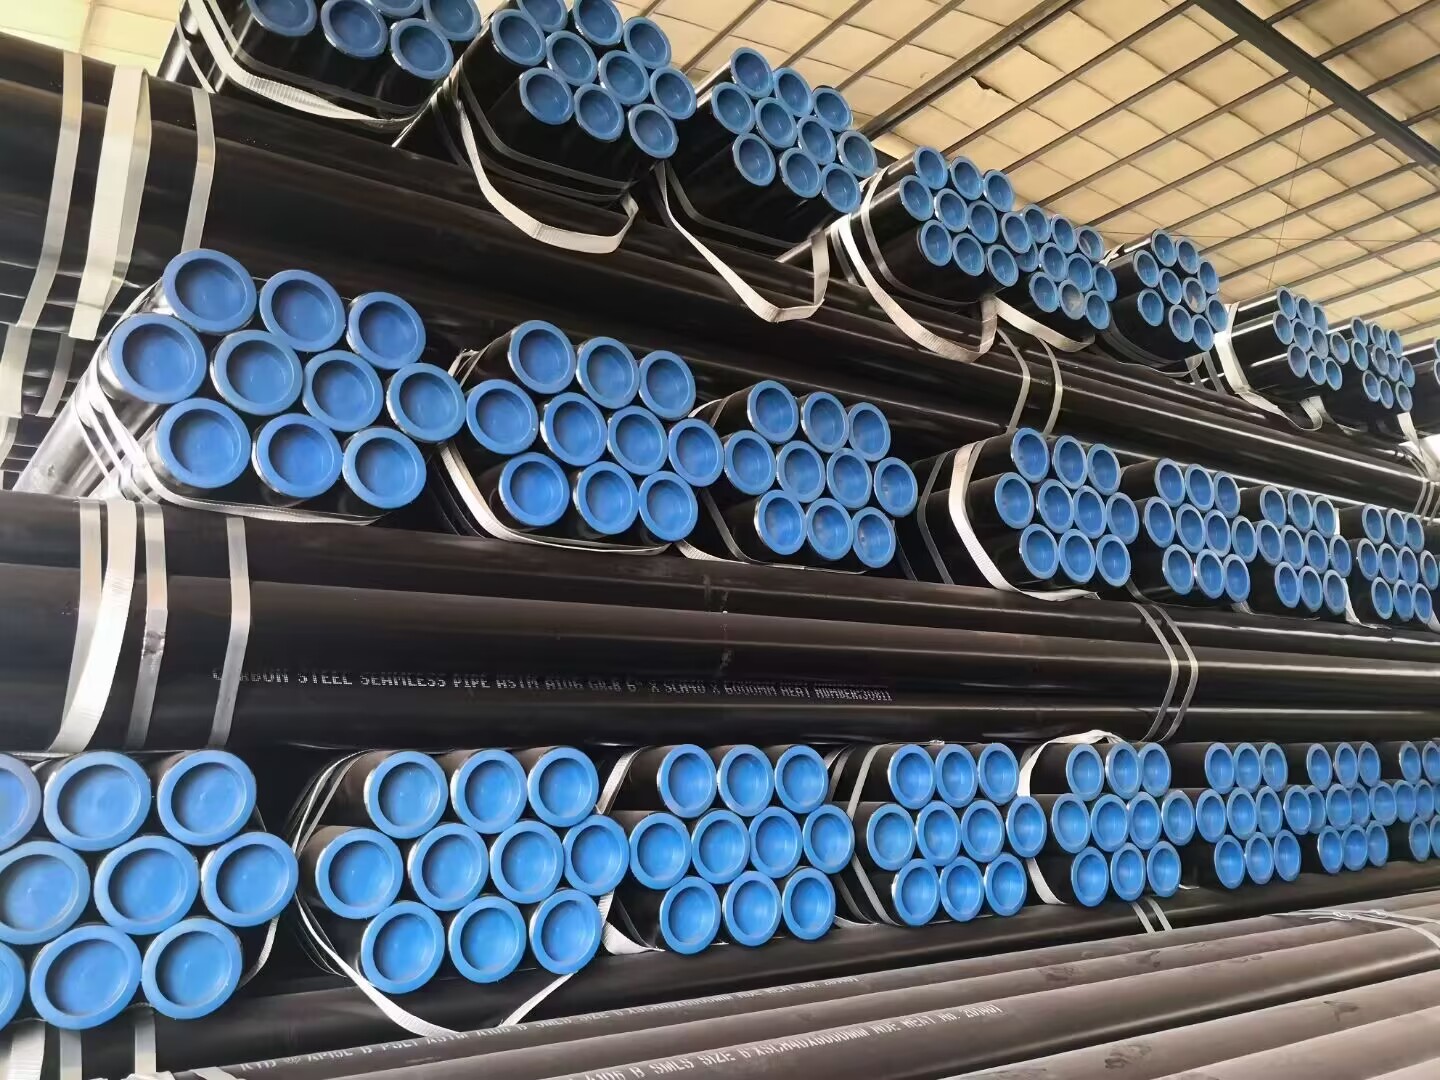
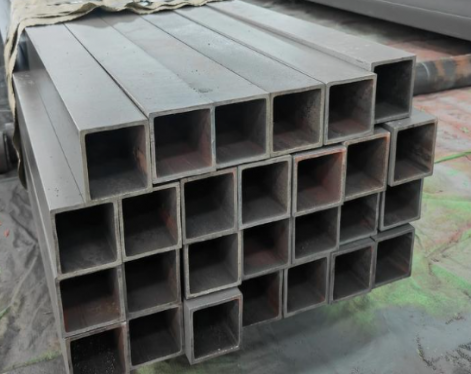
Ultrasonic testing of seamless pipes uses ultrasonic technology for testing and is one of the five conventional nondestructive testing methods. Ultrasonic testing is a method for inspecting parts for defects due to the characteristics of reflection at the edge of the interface when sound energy penetrates deep into the metal material and passes from one section to another. When the ultrasonic beam passes from the surface of the steel pipe through the probe to the inside of the metal, when it encounters a defect and the bottom surface of the steel pipe, reflected waves will occur respectively, and a pulse waveform will be formed on the fluorescent screen.
The main advantages of ultrasonic testing of seamless pipes
① Strong penetrating ability, the detection depth can reach several meters;
②The sensitivity is high, and reflectors with the same reflection ability as the air gap with a diameter of about several tenths of millimeters can be found; the size of detectable defects can usually be considered to be 1/2 of the wavelength.
③It is more accurate in determining the orientation, size, shape and so on of the internal reflector;
④ It is only necessary to approach the object to be inspected from one side;
⑤ Defect inspection results can be provided immediately;
⑥The operation is safe and the equipment is portable.

The main disadvantages of ultrasonic testing of seamless pipes
① It should be operated carefully by experienced personnel;
② It is difficult to inspect rough, irregularly shaped, small, thin or heterogeneous materials;
③ It is still difficult to make very accurate qualitative and quantitative characterization of the found defects;
④. Not suitable for structures with cavities;
⑤. Unless photographed, there are generally few traceable materials left.
Summarize
The advantages of ultrasonic flaw detection are large detection thickness, high sensitivity, fast speed, low cost, harmless to the human body, and the ability to locate and quantify defects. However, the display of defects by ultrasonic flaw detection is not intuitive, the flaw detection technology is difficult, easily affected by subjective and objective factors, and the flaw detection results are inconvenient to save, etc., so ultrasonic flaw detection also has its limitations.
The main advantages of ultrasonic testing of seamless pipes
① Strong penetrating ability, the detection depth can reach several meters;
②The sensitivity is high, and reflectors with the same reflection ability as the air gap with a diameter of about several tenths of millimeters can be found; the size of detectable defects can usually be considered to be 1/2 of the wavelength.
③It is more accurate in determining the orientation, size, shape and so on of the internal reflector;
④ It is only necessary to approach the object to be inspected from one side;
⑤ Defect inspection results can be provided immediately;
⑥The operation is safe and the equipment is portable.

The main disadvantages of ultrasonic testing of seamless pipes
① It should be operated carefully by experienced personnel;
② It is difficult to inspect rough, irregularly shaped, small, thin or heterogeneous materials;
③ It is still difficult to make very accurate qualitative and quantitative characterization of the found defects;
④. Not suitable for structures with cavities;
⑤. Unless photographed, there are generally few traceable materials left.
Summarize
The advantages of ultrasonic flaw detection are large detection thickness, high sensitivity, fast speed, low cost, harmless to the human body, and the ability to locate and quantify defects. However, the display of defects by ultrasonic flaw detection is not intuitive, the flaw detection technology is difficult, easily affected by subjective and objective factors, and the flaw detection results are inconvenient to save, etc., so ultrasonic flaw detection also has its limitations.


