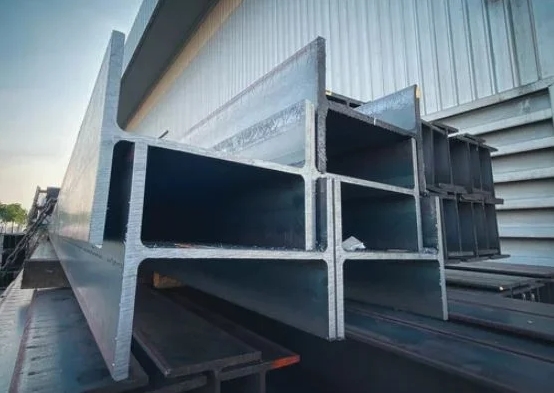
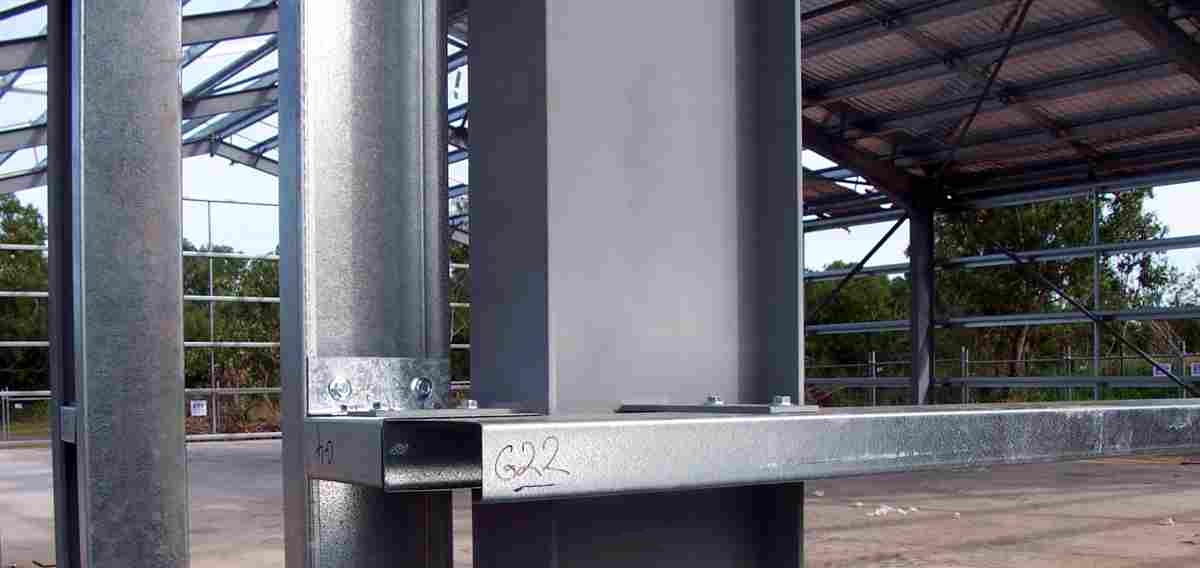
Steel H columns are one of the most common structural components, which can be mainly divided into the following steps: layout, marking and numbering, cutting, H-beam assembly, submerged arc welding, locking and end processing, component assembly, manual welding of assembly, drilling, correction, friction surface treatment, component surface treatment, and painting. The details are as follows:
Each construction process, such as steel plate cutting, H-beam assembly, assembly of various components and parts, and pre-assembly of components, requires professional layout workers to accurately layout on the processing surface and assembly master template. After layout, it must be inspected by an inspector to ensure the geometric dimensions, positional tolerances, angles, and contact surfaces of parts, components, and structures are accurate.
For smaller plates and rod materials where CNC cutting is not necessary, manual marking and numbering are used. Marking and numbering personnel should be proficient in making templates and samples, familiar with the symbols and text on the templates and samples, and understand the meaning of the markings and the quantity to be numbered.
Includes oxygen cutting, shearing, and beveling. The main equipment for cutting in our company includes plasma and flame multi-head CNC cutting machines, trolley flame cutting machines, horizontal band saws, beveling machines, and shearing machines. Before cutting, the steel plate or profile should be corrected with a correcting machine. For welded steel plates or profiles, they must also be inspected and tested to ensure they are qualified before cutting. The processing requirements should be inspected according to the company's internal control standards for cutting surface, geometric dimensions, shape tolerances, cut section, and spatter, etc. After passing the inspection, they should be stored reasonably, marked as qualified, and numbered.
Assembly mainly refers to the spot welding positioning and fixing before the submerged arc welding of H-beams. Assembly is carried out on an automatic assembly machine. Before assembly, burrs and slag should be removed from the flange plates and web plates, and they should be corrected. The layout personnel should draw the centerline and positioning line, and only after passing the inspection should they be allowed to go to the assembly machine for assembly spot welding and fixing.
Submerged arc welding is mainly used for welding H-beams of steel columns and beams. The submerged arc welding of columns and beams generally uses a gantry submerged arc welding machine for welding, and a large amount of regular H-beams are made on an H-beam automatic production line. When submerged arc welding, it is necessary to use the appropriate welding wire, current, voltage, and welding speed according to the thickness and type of steel plate according to the process documents, while also paying attention to the quality of the flux, especially the dryness of the flux. The H-beam should be corrected after welding.
H-type columns and main beams are generally designed to use high-strength bolt connections. After the H-beam processing and inspection are qualified, the end of the machine is used for end planing processing. During processing, the size should be ensured to be accurate.
The main components of the assembly are columns, roof steel beams, and supports. Before assembling the components, a large sample must be enlarged. The end plates of the H-beams of beams and columns should be milled flat before welding. Generally, the assembly components are welded in shape and should be inspected before formal welding.
The manual welding of assembly parts uses a CO2 gas welding machine. Welders are all assessed and certified according to regulations. All welding seams (including submerged arc welding, gas welding, and arc welding) must also be marked with the welder's steel number. After welding, the welder's appearance and ultrasonic flaw detection inspection are carried out by the inspector, and after passing, a qualified mark is marked.
The drilling of parts in the steel structure is carried out by a universal shaking drill for precision mechanical drilling, and the parts and components are drilled by a three-dimensional drill or a magnetic drill plus marking and templates. In order to ensure the accuracy and quality of the drilling, when using a template drill, a layout worker must layout and mark the reference axis and hole center. When using a CNC drill, the first processing product must be inspected and qualified before mass drilling. After the parts, components, and structures are drilled, they must be inspected and qualified by the inspector, marked with a qualified mark, and then transferred to the next process.
Correction work runs through the entire process of steel structure production, from cutting before to cutting, submerged arc welding, assembly manual welding, etc., all need correction to ensure that the size, quality, and shape of the components meet the specifications. The main correction methods are automatic correction and flame correction, mainly using equipment such as H-beam correctors.
The end heads of the components' connecting friction surfaces should be milled flat with a milling machine, and the friction surfaces are treated by a shot blasting machine to produce surface friction. In the natural state, rust is produced. At the same time as the friction surface processing, test pieces should be made with the same material and processing method, and a friction coefficient test should be carried out to ensure that the friction coefficient meets the specified requirements.
After processing, parts, components, and structures should be edge processed according to regulations to remove burrs, slag, welding spatter, dirt, etc., and surface inspection should be carried out. After the components are finished and the surface is cleaned, the surface rust removal treatment is carried out with a shot blasting rust removal machine. The rust removal level should be above level two.
After rust removal, the components should be immediately cleaned and sprayed with anti-rust primer. The requirements for painting should be according to the design specifications, and the painting process should be carried out according to the operation manual and the instructions for the corresponding type of paint and use. The environmental temperature and humidity during painting should be controlled by a thermometer and hygrometer to ensure that they meet the process requirements of the corresponding type of paint. The thickness of the spray is inspected and controlled by a thickness gauge, and the thickness of each paint should be controlled according to the instructions. After the painting is finished, a dedicated person should mark according to the drawing requirements. The main markings of the components include assembly numbers, height reference points, assembly reference lines, centerlines, lifting points, and other marks and identifications.


