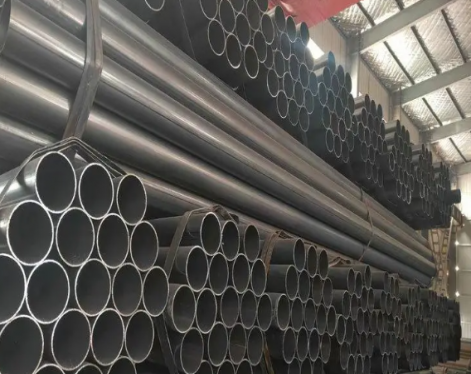
API 5CT is standard technical specifications for steel casing and tubing pipes used for oil wells in petroleum and natural gas industries.
API 5CT Casing and Tubing dimensions
API 5CT Dimensional Table
Besides casing and tubing, it also includes pup joints, coupling stock, coupling material, and accessory materials, and establishes requirements for three product specification levels (PSL-1, PSL-2, and PSL-3). The requirements for PSL-1 are the basis of this standard.
Common Grades: J55/K55, N80/N80Q/L80, C90, R95/T95, P110/C110, Q125
Connections
API Spec.5CT includes an illustration of API tubing joint connections. All three connections have tapered and round thread forms with either 8 or 10 threads/in., depending on the size. When casing is used as tubing, long-thread coupling/short-thread coupling and buttress-thread coupling connections can be specified.
API 5CT is applicable to following connections which complied with API SPEC 5B:
• SC: Short round thread casing
• LC: Long ound thread casing
• BC: Buttress thread casing
• NU: Non-upset tubing
• EU: External upset tubing
• IJ: Integral tubing connections
API 5CT Casing and Tubing Manufacture
According to API 5CT standard, steel material used for making the pipe billet supplied shall be grain refining treatment. This steel shall contain one or more grain refining elements, such as a certain amount of aluminum, niobium, vanadium or titanium, so that the austenite grains of the steel Grain refinement.
• Pipes supplied shall be manufactured in seamless type or EW type.
• Couplings, coupling stock and coupling materials shall be in seamless.
• Cold drawn tubing pipe shall be properly heat treated, otherwise is not acceptable.
• Casing and tubing attachment materials shall be seamless pipe, unless other type stated on the order.
Heat Treatment
Heat treatment methods for API 5CT casing and tubing is an important factor to differ each grade. Products requiring heat treatment shall be subjected to full body and full length heat treatment. The heat-treated upsetting product should be heat treated full body, full length after upsetting.
A separately heat treated coupling blank is acceptable. If the finishing temperature is higher than the upper critical temperature of the treated steel and the pipe is air cooled, it shall be considered to be normalized.
in case of welding type, weld seam shall be heat treated to a minimum temperature of 540 ℃(1000°F), or a certain treatment method shall be used to make the no untempered martensite structure in the weld.
Products ends
Flat-end pipe
Flat end pipe is a pipe supplied with unmachined threads, and It may upset or not , but it shall comply with all requirements of a specific steel grade in this standard.
Product with API Threads
Steel grade H40, J55, K55 or M65 casings are available in short or long threads. However, if the purchaser requests a long threaded casing, it should be specified on the order.
Rounded Nose
The “round” or “bullet-nose” type of pipe end may be provided by the manufacturer or specified by the purchaser to replace the conventional corner breaks on the threaded ends of external upset tubing. The improved end should be rounded so that the coating is applied and the inner and outer surfaces are rounded and smooth, without sharp corners, burrs.
Threading
Product threading, gauging practice and thread inspection shall be in accordance with API Spec 5B. The product end shall not be hammered, but may be slightly shaped to meet the requirements of thread machining. For steel grades of C90 and higher strength, such forming shall only be carried out with the consent of the purchaser.
Workmanship of ends
All product ends shall be free of burrs on the inside and outside edges. And sand blasting shall be applied to both male and female threads of C110 steel grade.
Defects
All pipes and fittings made of pipes shall not have the following defects:
a. Any quenching crack
b. Any arc burn
c. Any surface cracking defect that reduces the net effective wall thickness to less than 87.5% of the specified wall thickness can be confirmed.
d. When non-destructive inspection is specified in this standard or on an order, any non-surface cracking defects on the outer surface having an area greater than 260 mm2 (0.41 in2) are detected.
e. Any non-surface cracking defect that reduces the effective wall thickness to less than 87.5% of the specified wall thickness can be confirmed within 1.6 mm (1/16 in) of both sides of the weld.
f. Any internal upset structure on all upset products may have any sharp corners or drastic change of sections that can cause the 90 °hook type tool to hang up.
g. Any non-linear surface cracking defects on the inner surface of the external threaded part of the sanitary tube with a depth greater than 10% of the specified wall thickness.
Previous:Structural steel pipe


