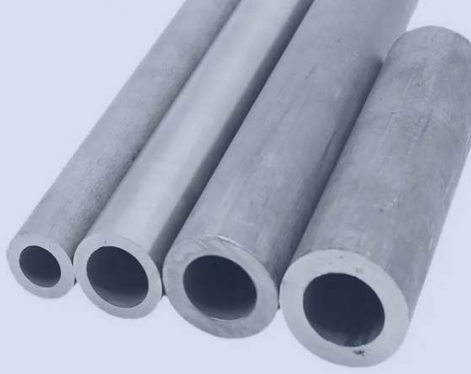
Spiral steel pipe is a welded tube made of strip steel coils as raw materials, often extruded and formed by automatic double-wire double-sided submerged arc welding.
(1) Raw materials are strip steel coils, welding wires, and fluxes. Strict physical and chemical tests are required before investment.
(2) Butt joint of strip steel head and tail, adopt single wire or double wire submerged arc welding, after coiling into steel pipe, adopt automatic submerged arc welding repair welding.
(3) Before forming, the strip undergoes leveling, edge trimming, edge planing, surface cleaning and conveying, and pre-bending treatment.
(4) The electric contact pressure gauge is used to control the pressure of the cylinders on both sides of the conveyor to ensure the smooth conveying of the strip.
(5) Adopt external control or internal control roll forming.
(6) The weld gap control device is used to ensure that the weld gap meets the welding requirements, and the pipe diameter, the amount of misalignment and the weld gap are all strictly controlled.
(7) Both internal welding and external welding adopt American Lincoln electric welding machine for single-wire or double-wire submerged arc welding to obtain stable welding specifications.
(8) The welded seams after welding are all inspected by an online continuous ultrasonic automatic flaw instrument, which guarantees 100% non-destructive testing coverage of spiral welds. If there is a defect, it will automatically alarm and spray the mark, and the production workers can adjust the process parameters at any time to eliminate the defect in time.
(9) Use an air plasma cutting machine to cut the steel pipe into individual pieces.
(10) After cutting into single steel pipes, the first three steel pipes of each batch shall be subject to a strict first inspection system to check the mechanical properties, chemical composition, fusion status of the welds, the surface quality of the steel pipes and pass non-destructive inspections to ensure the pipe manufacturing process Only after it is qualified can it be officially put into production.
(11) The parts with continuous sonic flaw detection marks on the weld are re-examined by manual ultrasonic and X-ray. If there are defects, after repairing, they will go through non-destructive inspection again until the defects are confirmed.
(12) The pipes where the strip butt welds and the D-shaped joints intersecting the spiral welds are all inspected by X-ray television or filming.
(13) Each steel pipe undergoes hydrostatic pressure test, and the pressure adopts radial seal. The test pressure and time are strictly controlled by the steel pipe hydraulic microcomputer detection device. The test parameters are automatically printed and recorded.
(14) The pipe end is mechanically processed to accurately control the verticality, bevel angle and obtuse edge of the end face.


